
How to use Salesforce Tasks with Alyce
As a prerequisite, ensure that you have Admin permissions within your Salesforce account.
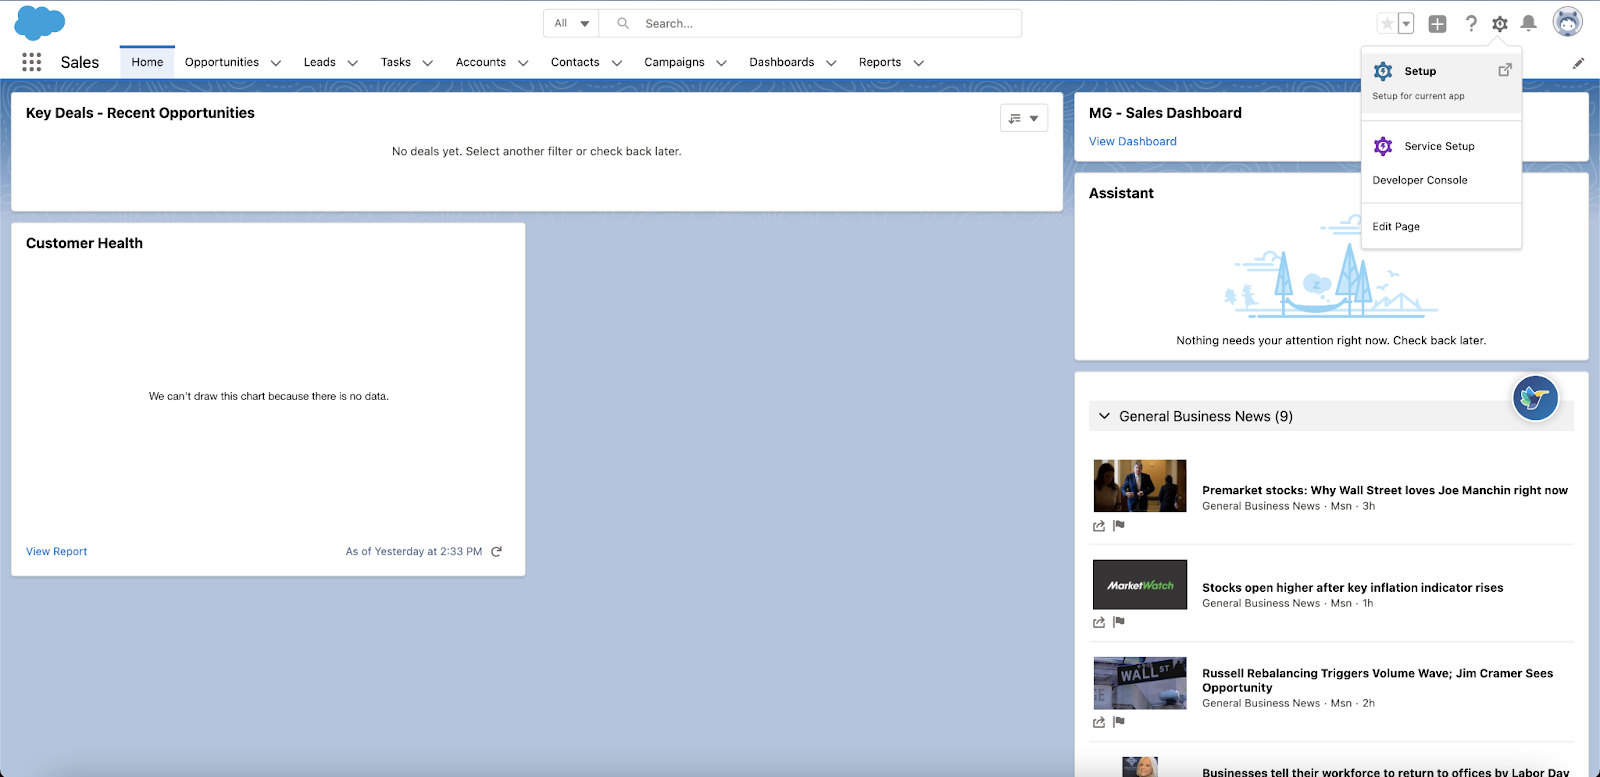
Step 1: Navigate to “Setup” within your Salesforce Settings.
Step 2: Use the Quick Search to find the item “Workflow Rules”.

Step 3: Click the “New Rule” button at the center of the page to create your new Salesforce rule.

Step 4: Select the “Gift” object from within the object dropdown and then click “Next”.

Step 5: Give your gift a unique name and description so that you can identify it again in the future. To ensure that this rule works dynamically, ensure the “created, and any time it’s edited to subsequently meet criteria” radio button selected.
Finally, ensure that the rule will run if the “criteria are met” and enter the fields and the corresponding values that you would like to use for your rule. For example, if you want this rule to run every time the Gift Status is equal to “Sent”, you would set that up as per the screenshot.
Note that you can set up your Salesforce rules as you wish by referencing the correct field from the Gift Object in Salesforce. Finally click “Save and Next”.

Step 6: Next, choose to “Add Workflow Action” via the button in the middle of the screen and select “Task” from the dropdown. Note that you could set up your Salesforce rule to have different actions if you don’t want to use Salesforce Tasks.

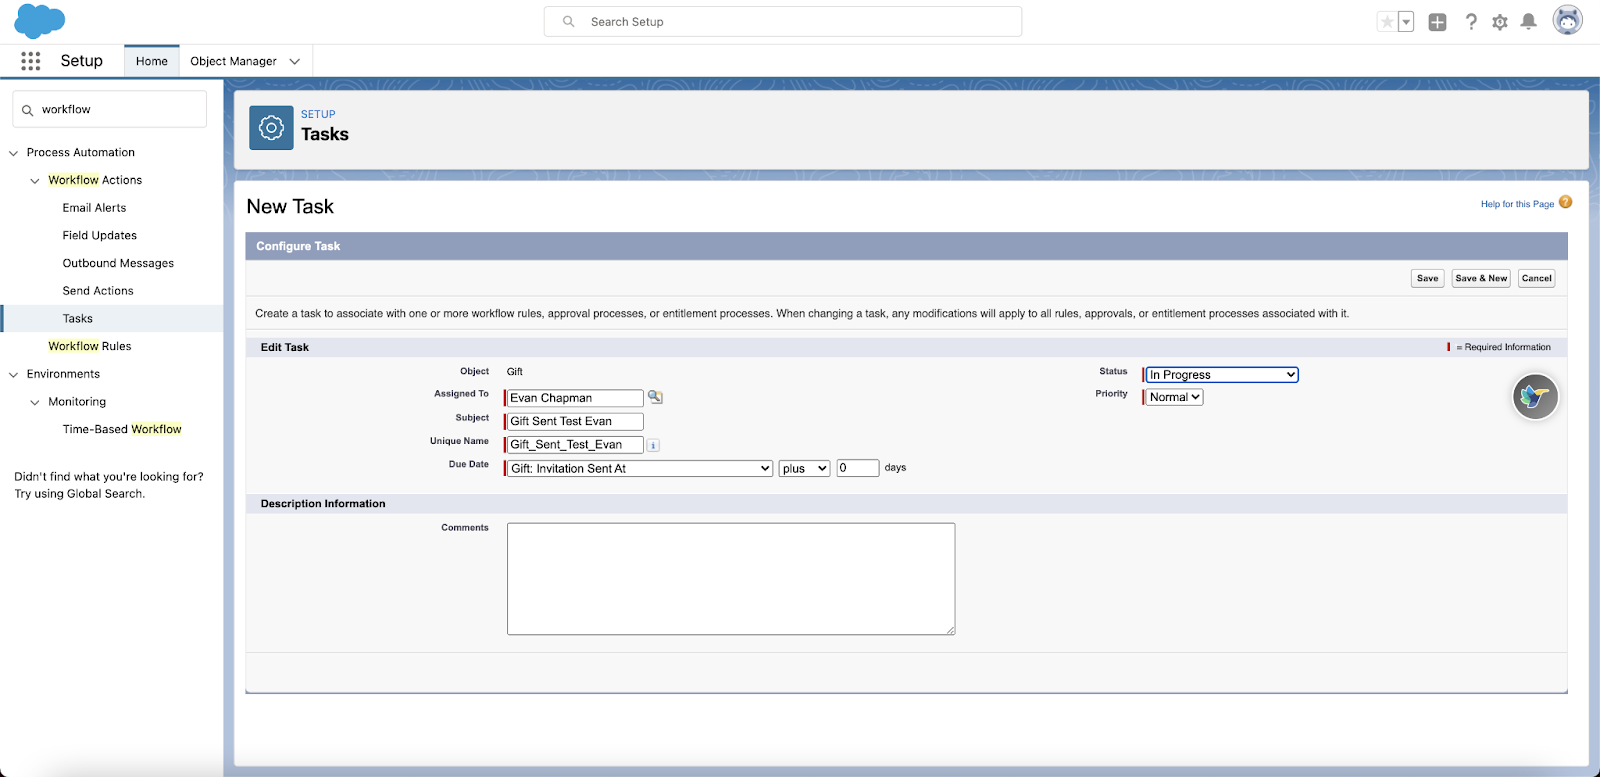
Step 7: Now you can customize your Salesforce task. Specifically, you can determine who it should be assigned to, the subject, the due date, the status and the priority. You can even add comments if you would like to. Once you have set up your task, click “Save”.
For an example, see the screenshot below.
Step 8: On the next screen, click “Done”.

Step 9: Finally, don’t forget to activate your new rule by clicking “Activate”.

You’re all set! You have now created a rule within Salesforce that will create a Salesforce task whenever an Alyce gift has entered into the “Sent” status.