
Okta Integration Setup
Process Overview
Create a unique connection name following the syntax okta-alyce-YourCompanyName.
(This will be referred to in the manual as YOUR_CONNECTION_NAME. This will be the name of the connection that will be used in the callback link and the Alyce system.)
- Set up Alyce as a new application in your Okta Admin.
- Assign users & groups to the created connection. These should match any Team membership on Alyce side
- Send connection credentials to [email protected] to finish the integration.
Configuring Okta
Log in to your Okta account. If you don't already have one, you will need to create one.
On the Okta dashboard, click Admin. You will be taken to the Okta Admin Dashboard.

Create Okta Application
Go to Applications → Applications, select Add Application.
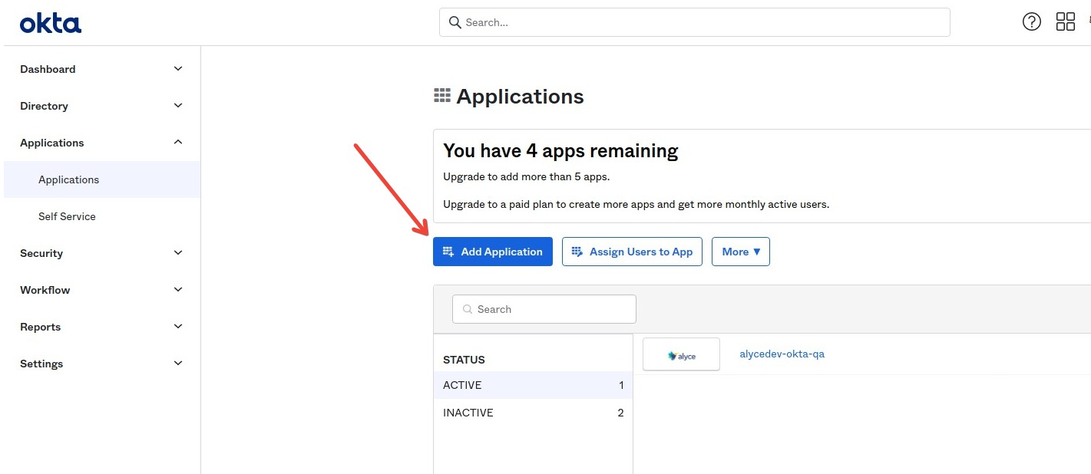
On the Add Application page, select Create New App.
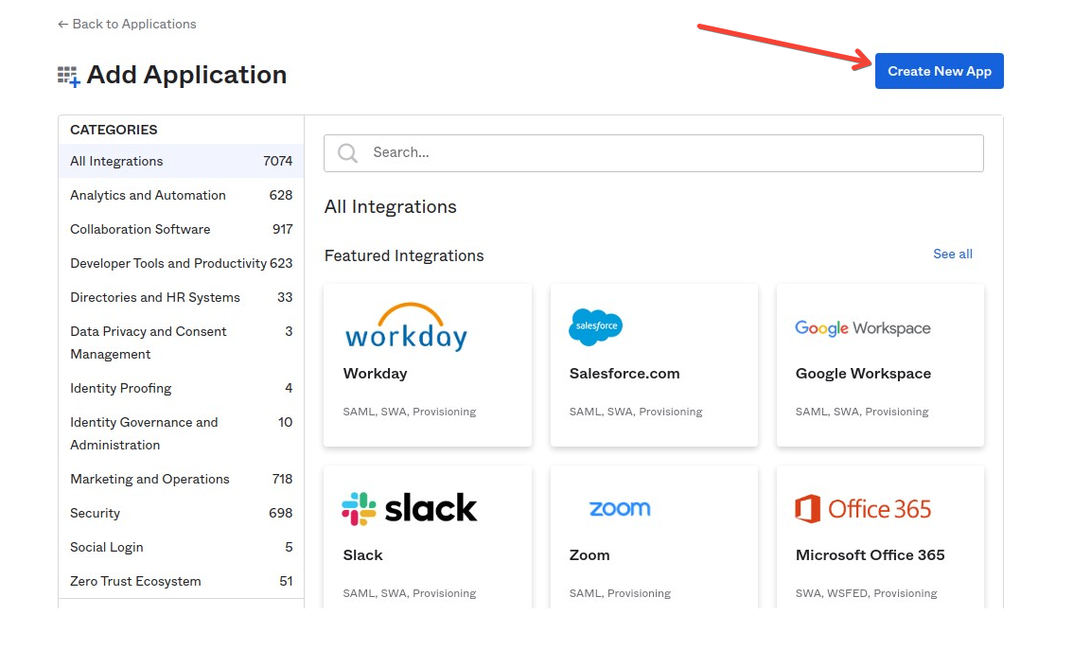
- select the Platform for your application
- choose SAML 2.0 as the Sign-on method.
- Click Create to proceed.

Okta Application Configuration
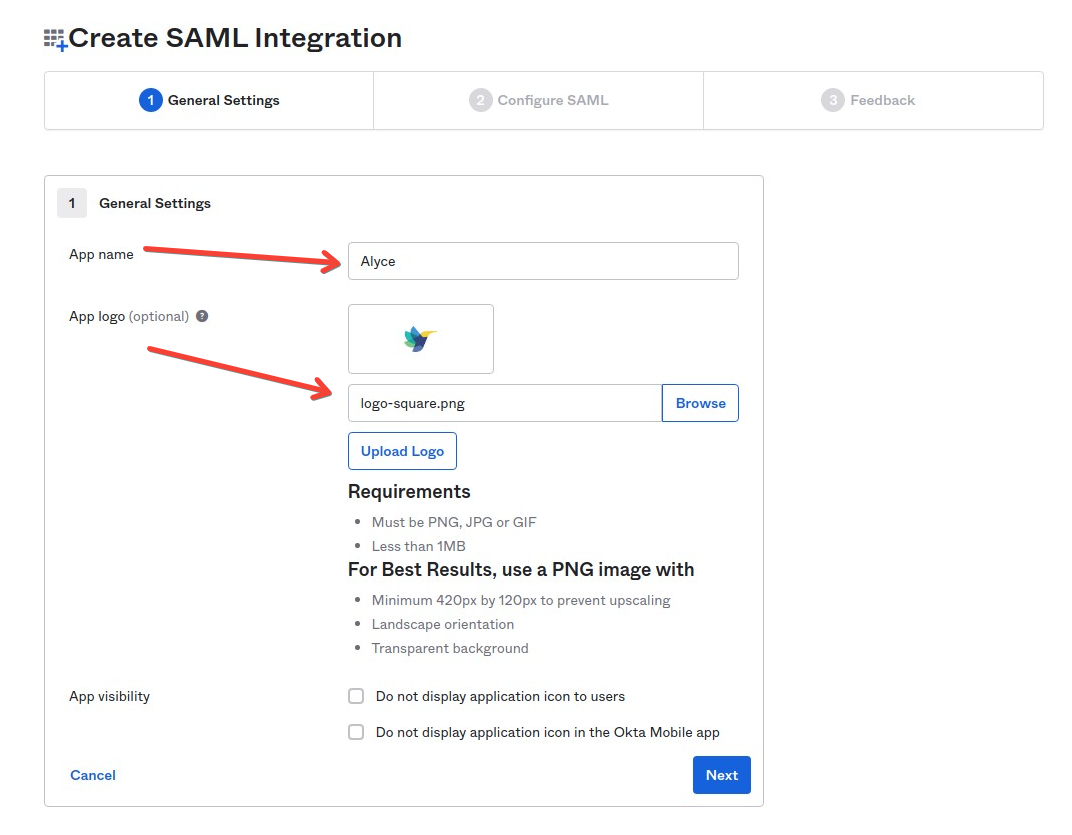
You will now create your SAML integration. On the General Settings page, provide the following:
- App name: Alyce
- App logo:

- App visibility: select whether you want your users to see your application icon and in what settings.
- Click Next to proceed.
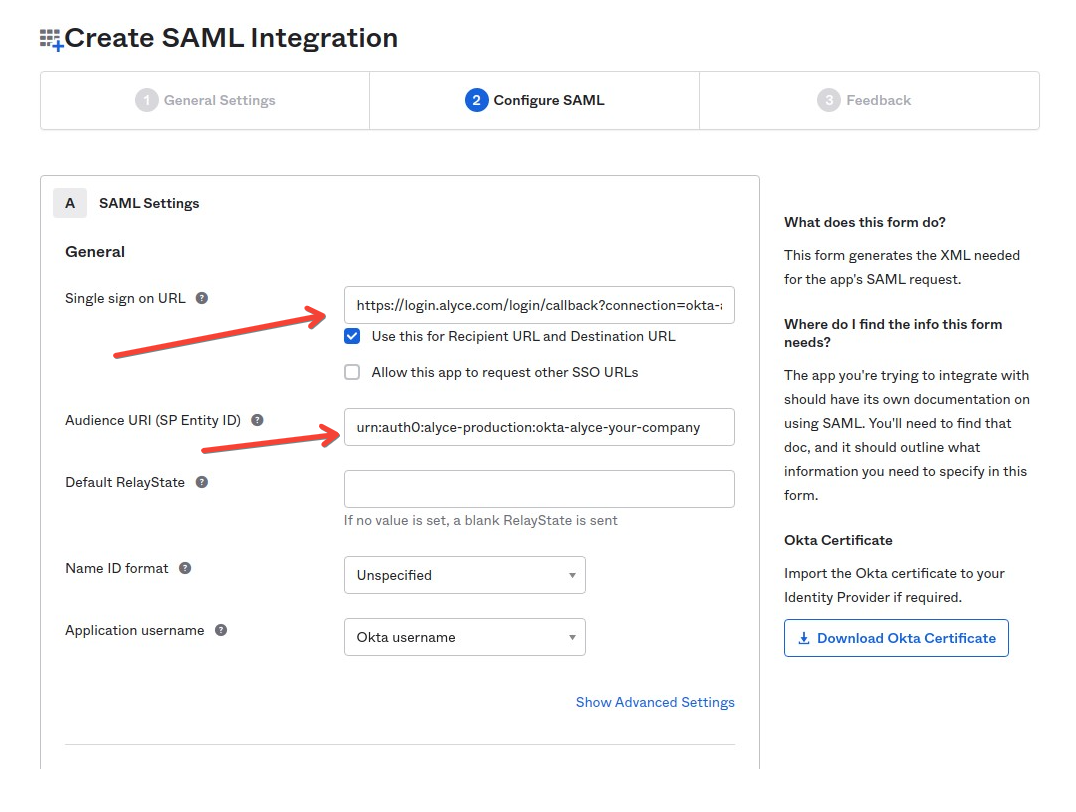
Enter the following values into the appropriate fields in the SAML Settings page:
- Single sign-on URL:
https://login.alyce.com/login/callback?connection=YOUR_CONNECTION_NAME
- Audience URI (SP Entity ID):
urn:auth0:alyce-production:YOUR_CONNECTION_NAME
YOUR_CONNECTION_NAME will be replaced with a real connection name formatted as okta-alyce-companyname, which must be sent to your Alyce Onboarding Manager
Add the following Attribute Statement:
- Name: email
- Name format (optional): Unspecified
- Value: ${user.email}
Clicking Preview the SAML Assertion to generate XML and verify that your settings are correct.
Click Next to proceed.
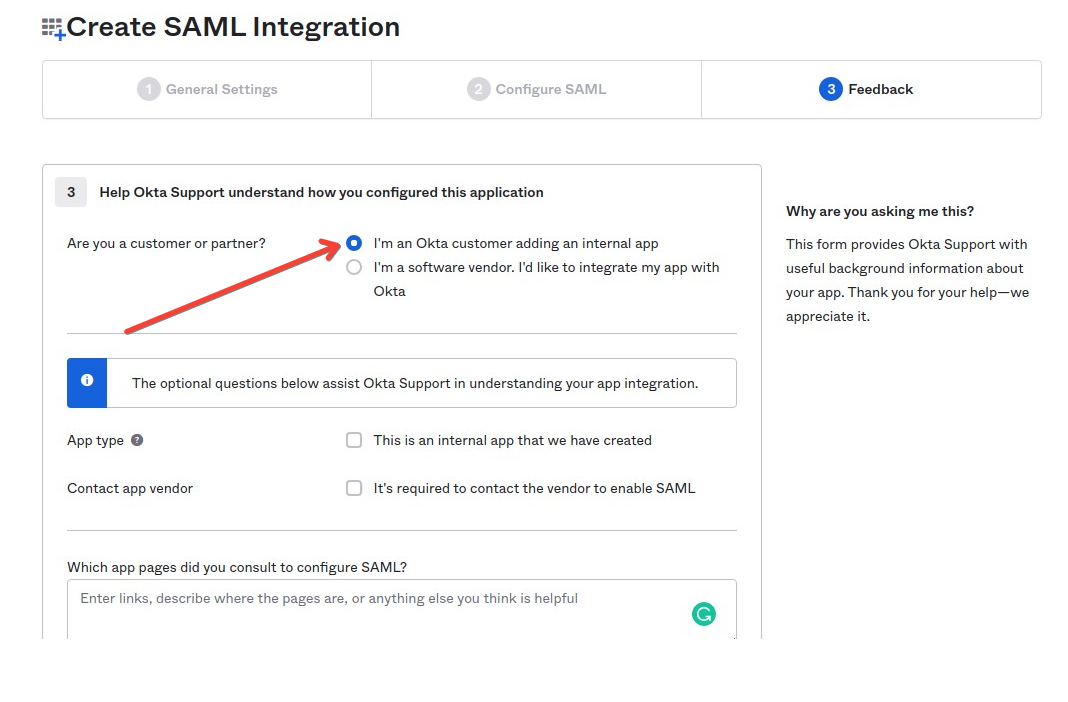
Finally, select I'm an Okta customer adding an internal app in Are you a customer or partner?
Click Finish.
You'll be directed to the Sign-On tab for your newly-created app.
Click on View Setup Instructions to complete the process.

What to send to Alyce
Initiate an email to [email protected] and include:
- Your unique Connection Name
- Identity Provider Single Sign-On URL
- The X.509 Certificate

Set up and test SSO
Once the Alyce team has the necessary information, your account will be enabled for SSO. This usually takes 1-2 business days. We’ll reach out as soon as everything is ready.
If you haven't already done so, add any users to Alyce from the Alyce dashboard following this guide: How to Add a Team Member in Alyce. They Alyce Okta integration does not enable user provisioning.
Your team will now be able to sign-in through Okta User Dashboard

Troubleshooting
Okta allows users to save login information for any website. If your users have previously saved their Alyce credentials, they may encounter an error when signing into Alyce. To resolve this error, please be sure users are clicking on the button with the Alyce logo.
To avoid confusion after enabling Forced SSO, it may be helpful to instruct users to delete previous Alyce sign-in widgets.