Getting Started: How to create an Alyce Prospecting Campaign
Alyce offers you an alternative to sending one gift at a time by using either a 1:Many universal gift link campaign or a Prospecting Campaign. Through the Prospecting campaign gifting flow, team members have the ability to bulk-send gift invites to up to 200 contacts at once.
From the main dashboard, click on the settings icon, then select "Campaign Settings."

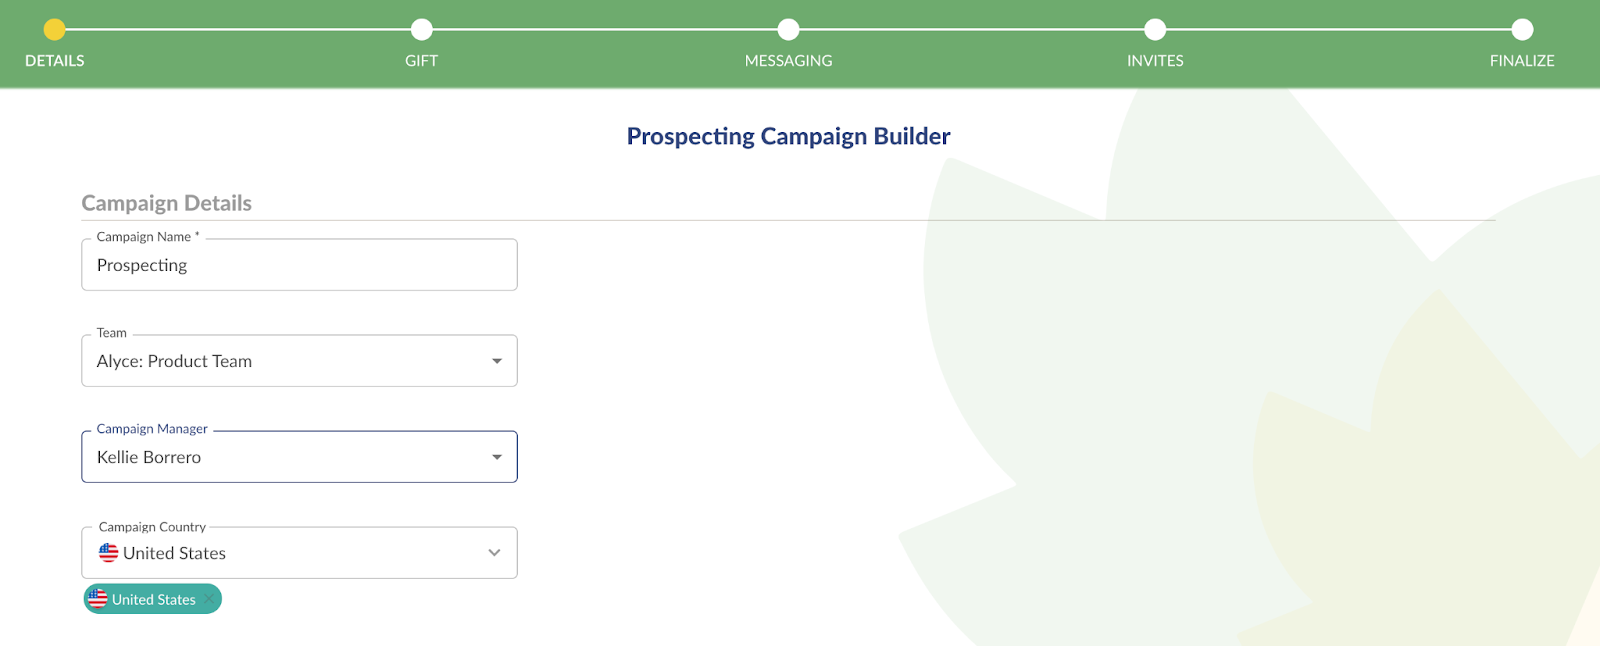
Select the Prospecting Campaign type

Name your campaign and assign it to a team. The campaign owner will be an admin on the selected team.
Select which countries you want your team members to be able to send gift invites to. This setting cannot be changed once you advance past this page. Please review your country selection carefully.
Note: If a sender tries to send a gift invite to a contact in a country that is not allowed at the campaign level, they will not be able to complete the gift send.
Next, choose what email notifications you’d like to receive. Alyce can notify the Campaign Manager, gift sender, and/or gift “send-as” team member.

Now that your Campaign framework is set up, let's configure the gift marketplace options for this campaign.
Click the Configure Marketplace button and choose which gift types, gift budget, and vendors you would like to allow.

Note: These marketplace settings will narrow down the gift sender marketplace as well as the gift recipient marketplace. Senders will only be able to send gifts based on these settings and gift recipients will only be able to claim gifts within these settings.
Next, you may choose up to three default gifts for the campaign. The gifts you set here will be available for team members to choose from when sending gifts on this campaign.
Note: If you do not want your team members to send any other gifts besides the defaults that have been set, uncheck the “Allow gift senders to choose alternate gifts from the Gift Marketplace above” option.

You may select what options you want recipients to have when they receive a gift invite, as well as when the gift should expire.

Recipient Actions allows you to choose what actions a recipient must take to accept their gift. Learn more about what actions to require here.
By default, the recipient will be required to accept a calendar invite, but you may uncheck that if you don’t want to require it. You can also choose if you want your team members to be able to change the required actions when sending gift invites.

Connect with the perfect Message
Set a default message for this campaign, or upload a video with your message. The message you set here will automatically be selected in the Prospecting campaign bulk-send gifting flow for your team members, but they can also choose a different template in the gift invite sending flow.
Learn about Best Practices for Alyce Invitation Messages and How to Add Video to Gift Landing Pages
Alyce Campaigns also allow you to set a Post Gift CTA to guide your recipient to next steps. Learn more at How to set up a Post Gift CTA in a Campaign

Now that you’ve chosen your Campaign Settings, set up your gift marketplace, and determined what information you need from your prospects, it’s time to allocate invites for your team members.
Allocate Gift Invites to Team Members
NOTE: 'Gift Limits' / 'Gift Invites' is a legacy feature. Please see Team Budgets for details on the latest functionality. If you need help, please contact [email protected].
Team members cannot send gifts until they have invites allotted. Set these from the Gift Invites step. Select one or multiple team members and click the “Bulk Edit Invites” button. Choose the number of invites and reset the frequency, and then click save changes.

Once you’ve set the invite limits, you’ll find a final overview page. If anything looks wrong, hit the back button to return to the relevant settings page. If you’re satisfied, click “Create Campaign” and you’re ready to go!
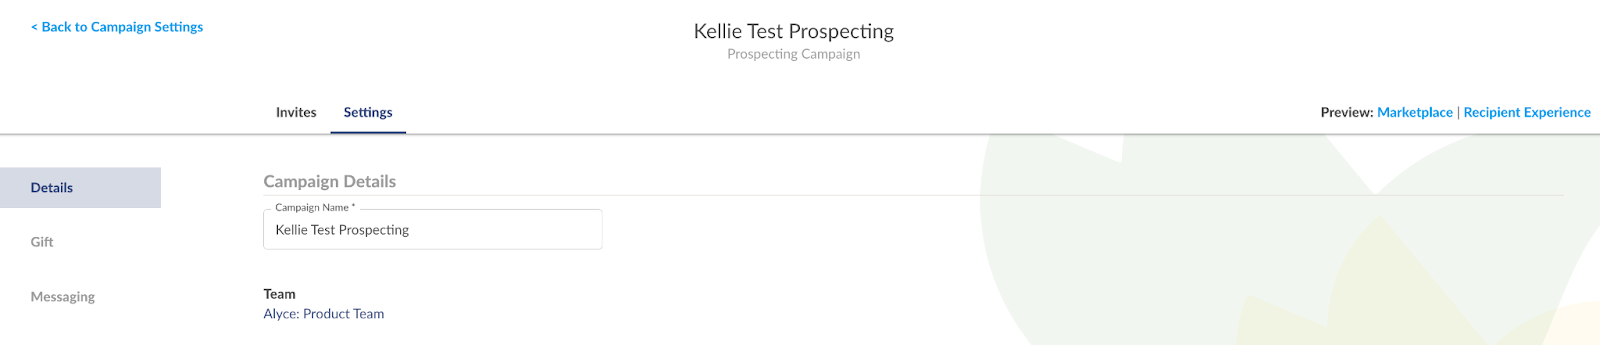
To edit your campaign
Select the campaign in the Campaign list

Once opened, you’ll see a navigation bar at the top of the page. Click into the area you wish to update.